How to Fold a Quilt: The Ultimate Guide
Introduction
Folding a quilt might seem like a straightforward task, but doing it properly can preserve its beauty and integrity for years. Whether it’s a handmade heirloom or a cozy store-bought favorite, knowing how to fold a quilt correctly offers practical benefits. This guide will walk you through the entire process, offering expert advice and step-by-step instructions.
The Importance of Proper Quilt Folding
Quilts are not just for warmth; they are often cherished keepsakes that represent hours of painstaking work and intricate detail. Proper folding is crucial for several reasons:
- Preservation: Helps retain the quilt’s shape and prevents creases and wear.
- Storage: Optimizes space and keeps quilts clean and dust-free.
- Display: Proper folding allows for easier and more elegant presentation, whether in a cupboard or on a display shelf.
Understanding the importance of proper quilt folding can motivate you to take the necessary steps to do it right. Next, let’s look at what you need to prepare before folding.
Pre-Folding Preparation
Prepping your quilt before folding is an essential step that often gets overlooked. Here’s how to ensure your quilt is ready for storage.
Cleaning and Drying Your Quilt
Before you fold your quilt, it’s crucial to make sure it’s clean and completely dry to prevent mold and mildew.
- Read the care label: Follow any specific cleaning instructions.
- Wash if necessary: For machine-washable quilts, use a gentle cycle with mild detergent. For delicate, hand-made quilts, consider professional cleaning.
- Dry thoroughly: Air-dry the quilt completely to avoid mold. Lay it flat on a clean surface away from direct sunlight, which can fade colors.
Tools You Might Need
Having the right tools on hand can simplify the folding process:
- Pillowcases or Cotton Sheets: Use these to cover the quilt for added protection.
- Storage Bins: Utilize sturdy, breathable bins to keep quilts safe from dust and pests.
- Acid-Free Tissue Paper: For particularly valuable quilts, acid-free tissue paper can help maintain their condition.
Now that your quilt is prepped and ready, let’s move on to the actual folding process.

Step-by-Step Guide to Traditional Quilt Folding
Traditional quilt folding is straightforward yet effective. Follow these steps to keep your quilt in optimal condition.
Step-by-Step Instructions
- Lay the quilt flat: Spread the quilt on a clean, flat surface, removing any existing creases by gently smoothing it out.
- Fold in thirds (lengthwise):
- Bring one side of the quilt to the center.
- Bring the opposite side on top, creating three layered sections.
- Fold in thirds (widthwise):
- Bring the bottom third up towards the center.
- Fold the top third over the previous fold, so you end up with a compact, neat rectangle.
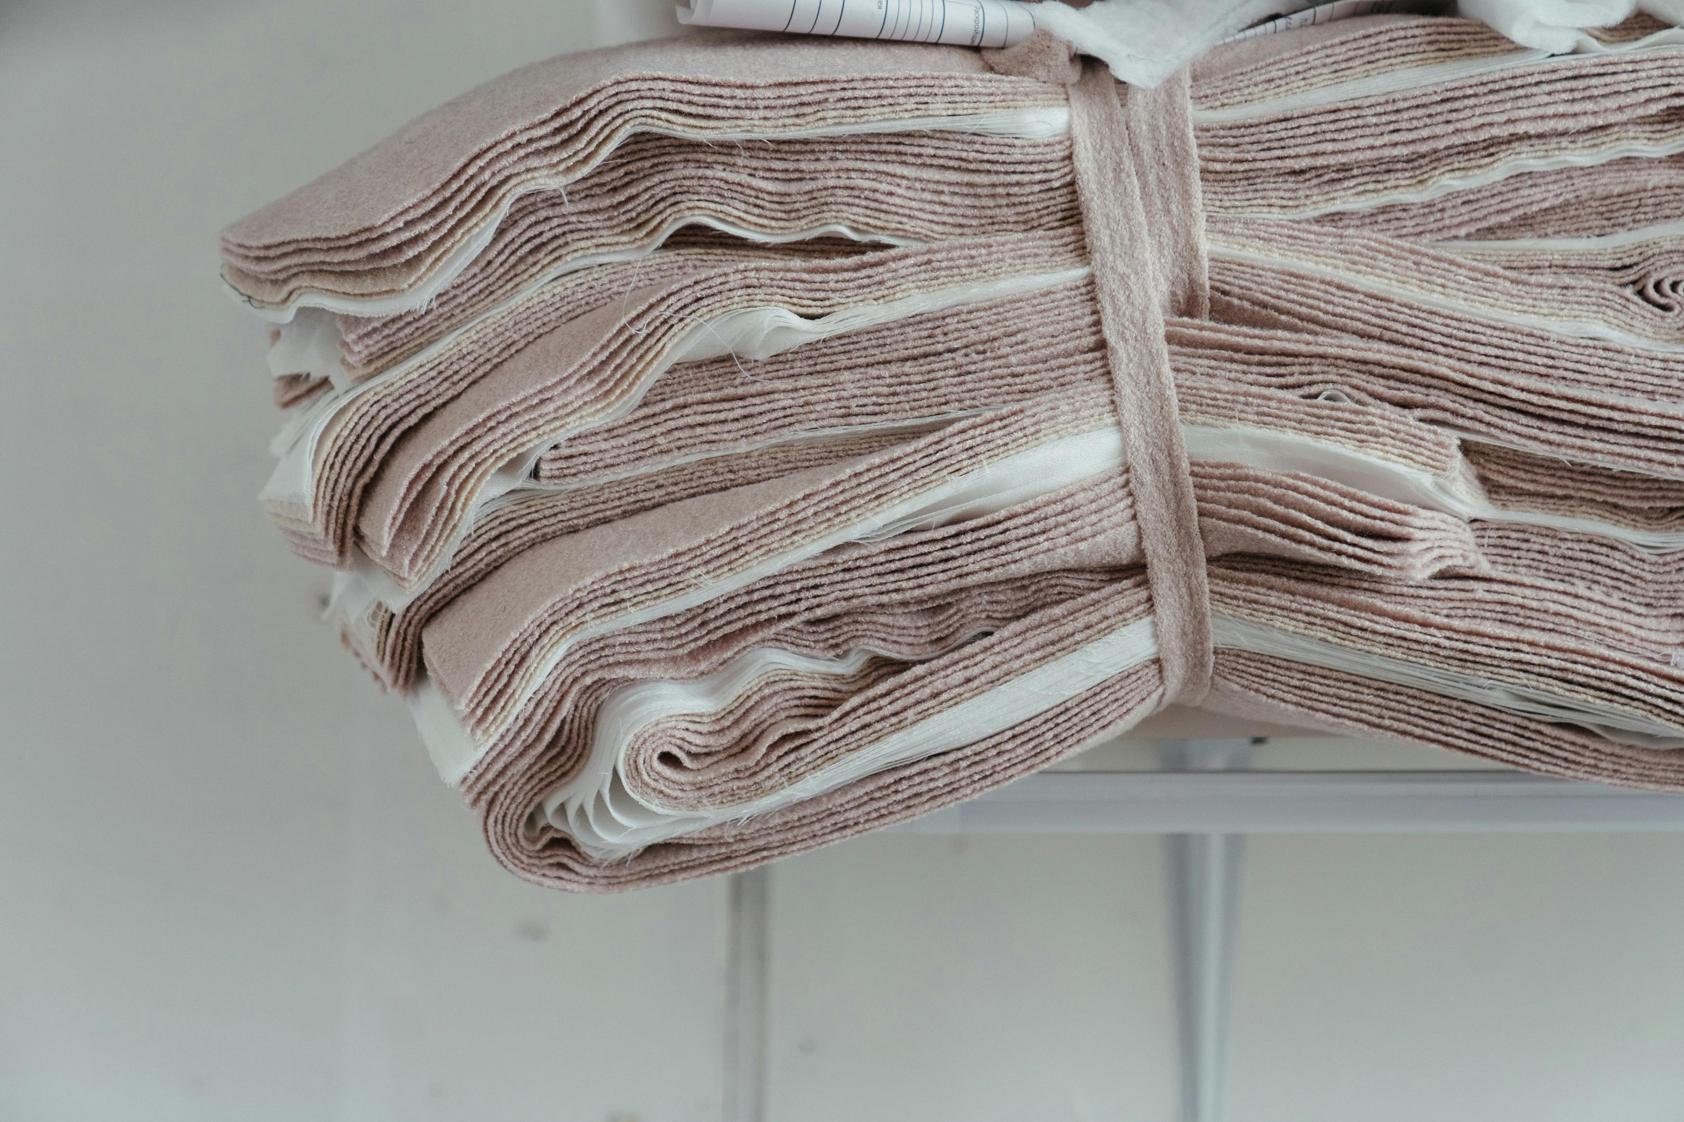
Visual Aids and Diagrams
While written steps are helpful, visual aids can make the process even clearer. Refer to diagrams and photos to ensure each fold is crisp and precise. Visualizing the steps can help you complete the task efficiently.
Every quilt is unique, which brings us to specialized techniques for different quilt sizes.
Specialized Folding Techniques for Different Quilt Sizes
Whether you’re folding a baby quilt, a lap quilt, or a king-size quilt, minor adjustments in technique can make a big difference in maintaining the quilt’s condition.
Folding a Baby Quilt
Baby quilts are usually smaller and more manageable:
- Flat surface: Lay the quilt flat.
- Fold in half: Bring one edge to meet the opposite edge.
- Second fold: Fold in half again, lengthwise.
- Final fold: Fold into thirds horizontally.
Folding a Lap Quilt
Lap quilts are slightly larger and may require more careful handling:
- Flat surface: Spread the quilt out flat.
- Fold in quarters (lengthwise): Start by folding the quilt in half, then fold again to form quarters.
- Final fold (widthwise): Fold into thirds as you would with larger quilts.
Folding a King Size Quilt
King-size quilts can be bulky, requiring more strategic folds:
- Flat surface: Lay the quilt fully extended.
- Fold in thirds (lengthwise): Bring one edge over, and then fold the other edge to meet it in the center.
- Fold in thirds (widthwise): Repeat the lengthwise fold, turning the quilt into a compact, manageable size.
After mastering these techniques, it’s essential to store your quilts properly to maintain their quality over time.

Long-term Storage Solutions
Storing your quilt securely will protect it from damage and prolong its life.
Best Storage Practices for Quilts
- Use breathable materials: Store quilts in cotton pillowcases or bags, not plastic, to prevent moisture buildup.
- Climate control: Keep quilts in a cool, dry place with minimal exposure to sunlight.
- Rotation: Periodically refold and reposition your quilts to avoid long-term creasing.
Avoiding Common Storage Mistakes
- Avoid plastic: Plastic storage can trap moisture and cause mildew.
- Don’t stack too many: Compressing too many quilts can lead to permanent creases.
- Re-evaluate often: Check on stored quilts regularly to ensure they’re not developing any issues.
Conclusion
Folding a quilt properly involves more than just a few creases. With the right techniques, you can preserve your quilt’s charm and functionality for years. From baby quilts to king-size treasures, proper care and storage will keep them looking their best.
Frequently Asked Questions
How often should I re-fold my quilt to prevent creases?
Re-fold your quilt every 3-6 months. This regular adjustment helps in avoiding permanent creases and keeps the quilt evenly compressed.
What’s the best way to store heirloom quilts?
Store heirloom quilts in a cool, dry place, inside cotton pillowcases or wrapped in acid-free tissue paper. Avoid direct sunlight and plastic storage containers.
Can I fold a weighted quilt the same way as a regular quilt?
Yes, but extra care is needed due to the weight. Fold in a way that distributes the weight evenly to avoid stress on specific areas and prevent damage.